앞서 스토리북을 사용해서 컴포넌트(components)와 스토리 추가하는 방법을 설명했습니다.
컴포넌트와 스토리를 아직 추가 하실줄 모르시거나 안하셨으면 아래 링크를 참조해 주세요~!
https://dlee0129.tistory.com/6
[React Native] 스토리북(Storybook) 컴포넌트 & 스토리 추가하기
React Native 앱 프론트 개발을 할때 스토리북을 사용하면 편하게 개발할 수 있습니다. 사용할 컴포넌트들을 스토리북을 통해 보다 직관적으로 볼 수 있어 재사용이나 이해하기 좋은것 같습니다.
dlee0129.tistory.com
React Native 프론트 개발을 할 때에 스크린에서 <View>를 생성해서 flex: 1 그리고 margin과 같은 스타일들을 추가해서 사용하는데, 스토리북에서도 이와같은 설정들을 사용하실 수 있습니다.
스토리북(Storybook)을 통해 생성한 컴포넌트들이 실제 스크린에 나타날 때에 모습을 정확히 확인하기 위해서는 이와 같은 작업이 필요합니다,
먼저 컴포넌트와 스토리를 추가하며 만들었던 App폴더에 하위폴더로 Decorator폴더를 생성하겠습니다.
이제 Decorator폴더에 Decorators.js파일을 생성하고 아래의 코드를 입력해주겠습니다.
import React from 'react';
import { StyleSheet, View } from 'react-native';

export const BufferView = (storyFn) => (
    <View style={styles.bufferView}>
        {storyFn()}
    </View>
);

const styles = StyleSheet.create({
    bufferView: {
        flex: 1,
        marginHorizontal: 16,
        marginVertical: 20
    }
})
여기서 storyFn만 이해가 안되실텐데 storyFn은 Storybook에서 렌더링해주는 컴포넌트들을 전달받습니다.
새로 생성한 decorator를 추가할 스토리에 가서 추가해줍니다.
저는 여기서 stories폴더의 Button.stories.js 가서 작업해주겠습니다.
import React from 'react';
import AppButton from '../components/Button/AppButton';
import { storiesOf } from '@storybook/react-native';
import { Text } from 'react-native';

storiesOf('Button', module)
    .add('default', () => (
        <AppButton>
            <Text>
                Button
            </Text>
        </AppButton>
    ));

// 위의 기존 코드에서 아래와 같이 수정해줍니다.

import React from 'react';
import AppButton from '../components/Button/AppButton';
import { storiesOf } from '@storybook/react-native';
import { Text } from 'react-native';
import { BufferView } from '../Decorator/Decorators';

storiesOf('Button', module)
    .addDecorator(BufferView)
    .add('default', () => (
        <AppButton>
            <Text>
                Button
            </Text>
        </AppButton>
    ));
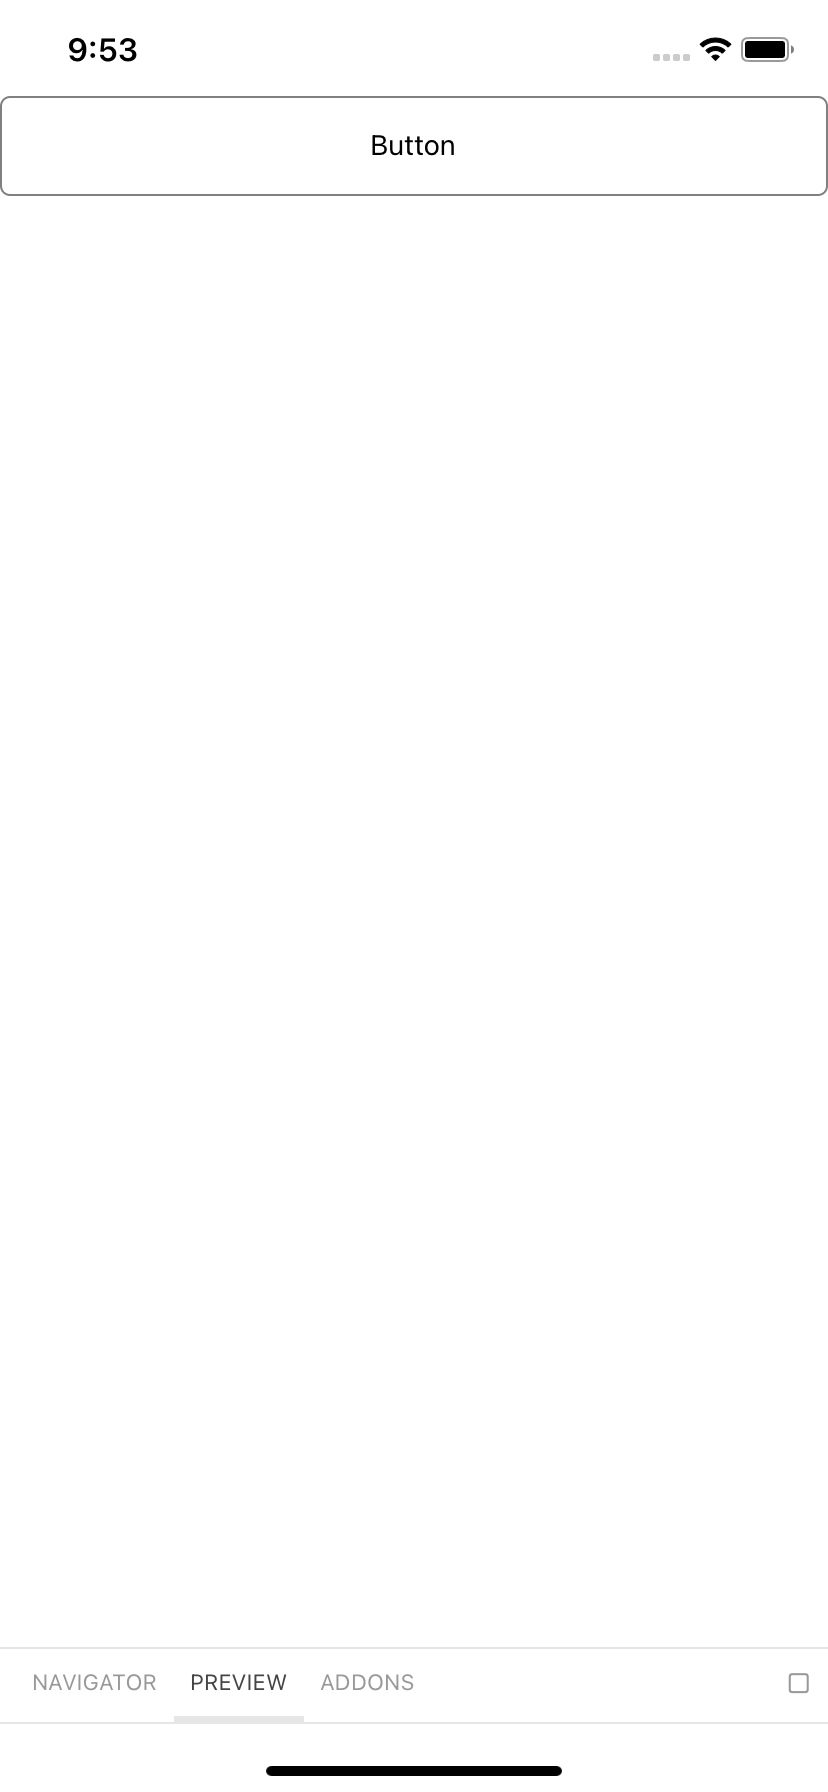
이제 React Native 프로젝트를 실행하셔서 Storybook의 컴포넌트를 보시면 차이를 확인하실 수 있습니다.
왼쪽이 기존에 decorator를 적용하기 이전이고 오른쪽이 새롭게 달라진 컴포넌트입니다.

'웹, 앱 개발 > RN React-Native' 카테고리의 다른 글
| [React Native] TextInput 키보드 안나타날 때 (1) | 2021.01.20 |
|---|---|
| [React Native] 스토리북(Storybook) 스크린(Screen) 띄우기 (0) | 2021.01.20 |
| [React Native] 스토리북(Storybook) 컴포넌트 & 스토리 추가하기 (0) | 2021.01.20 |
| [React Native] 스토리북(StroyBook) 설치 (0) | 2021.01.20 |
| [React Native] M1 에뮬레이터, 시뮬레이터 구동하기 (0) | 2021.01.19 |